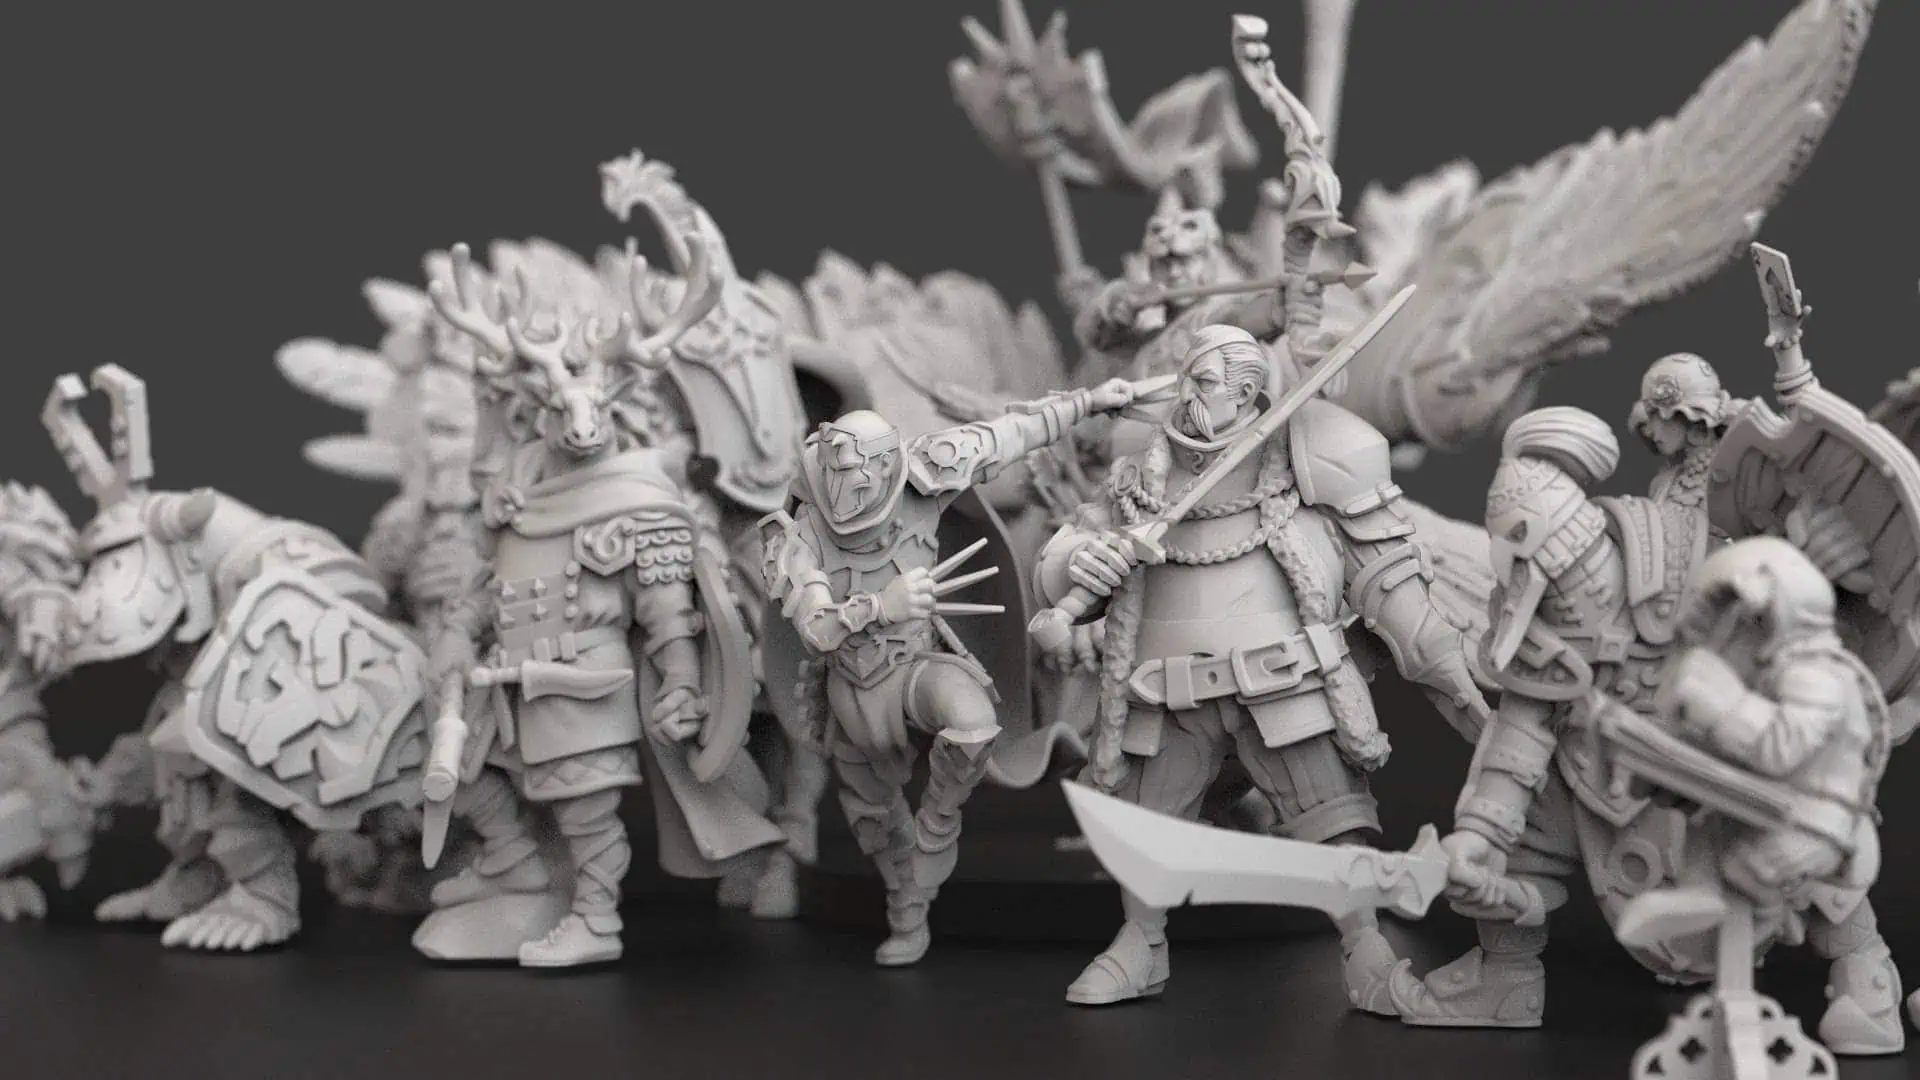
All of our miniatures are cast using resin. We ask all of our customers to take care when working on miniatures, as resin dust carries certain safety risks – remember to wear a breathing mask when sanding, cutting, or drilling into any resin materials!
Checking and Cleaning
Check your purchase to ensure that you are happy with all the components and if you have any concerns please contact us. In the unlikely event that you have any issues it would be helpful if you can provide us a photo of the problem.
Next, clean each item in warm water with a good degreasing agent, such as a dish washing liquid. Use a toothbrush to remove any excess mould release agent which may still be on the surface of the parts. Any release agent left on the model may prevent the primer adhering to the model.
Casting Gates
These appear where the resin has been poured into the mould. They are easily removed by using a pair of clippers to trim them off. You can then use a modeling knife, sanding pad or model file to clean off any excess. For gates too large for the clippers, a razor saw or piercing saw is ideal.
Mould Lines
Resin components are produced from silicone moulds that usually have a split line. Consequently, there will often be a slight line on the model that shows where the mould joins together. These are usually very fine, but nevertheless they will need removing so that they don’t show up after painting. Mould lines can be removed with a modelling knife or file by carefully scraping or filing away the line.
A smooth surface can then be restored with some fine sandpaper. This shouldn’t take too long and makes a big difference to the finish model.
Warped Parts
This sometimes happens to thinner parts where they have bent or twisted slightly, often due to the heat from the reaction of the resin curing. This can be easily fixed by carefully applying heat either by immersing the piece into hot water or by applying heat via a hot air gun or hair dryer. Often the piece will reform to its original shape by itself. If not, gently twist the piece back into position. The amount of heat that needs to be applied is often determined by the thickness of the parts, with thicker parts needing to be heated for a longer time.
DO NOT USE NAKED FLAME TO HEAT THE RESIN!
Assembly
Once the components have been washed and all excess resin has been removed, the model is ready for assembly. If the model has any interior detail or parts that may be difficult to access when fully assembled, it may be best to paint them at an
appropriate point during the assembly.
During the assembly process of a miniature, we would recommend to pin together all of the pieces with a hobby drill, and metal rods. Paper clips work great for this too! Again, resin can be a dense material and it is for the best to use a breathing
mask and goggles during this time as well.
Good quality super glue and an associated activator is essential at this point to ensure your model stays together firmly.
When you reach the filling procedure of your miniature creation, we recommend you get an epoxy filler (such as Milliput or Kneadatite) to close any small air bubbles not caught by you vacuum cleaner in between the joints.
All steps are essential for any miniature, so remember not to skip any of them!


